
1. Make a coat plan some time recently you begin sewing
Coats are a bit complicated due to all of the components you wish to consider some time recently beginning the real sewing: The diverse sorts of fitting strategies to select from and where to apply them, what kind of meddle to utilize and where you ought to utilize it, on the off chance that you ought to interline for additional warmth or underline instep for bolster … the list goes on! I’ve found that when I begin arranging out the textures I need to utilize for a unused coat, it’s accommodating.
organize my contemplations and give a street outline as I go through the construction handle. Coats aren’t difficult to create, but a part of thought and thought for the materials and strategies you’ll utilize should happen for a fruitful result.
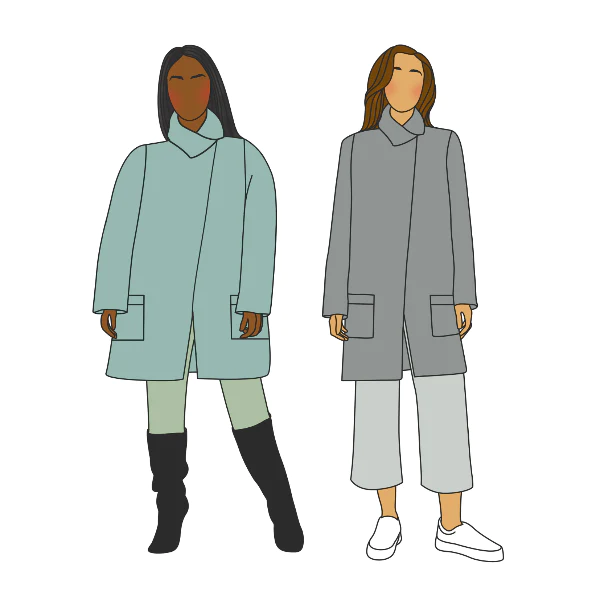
2. Fleece is amazing and warm
It’s genuine with any sewing venture that the texture you select can make or break your article of clothing, and when sewing a coat, it’s effectively one of the foremost critical components to urge right (no weight!). After all, this is often a piece of clothing you’re wearing to keep you warm and ensure you from the components; the usefulness of the coat texture is basic. But with a part of diverse choices accessible at our fingertips, much appreciated to so numerous awesome texture retailers online stocking heaps of texture, how the hell do
you go approximately selecting a texture that works for your design, your way of life, your climate, and know in case it’s attending to donate you great results?
3. Don’t disregard approximately ease!
With coats, ease is critical since we’re wearing our coats over another piece of clothing, now and then a few bulky layers. In a nutshell, check the wrapped up estimations of the coat you expected to create to guarantee that you’re selecting a design and a measure that will permit you to wear the dress you ordinarily wear. You don’t need to wear a fitted coat over a loose, baggy sweater. You moreover got to be able to sit comfortably and twist over in your coat without any pointless strain.
4. Test out meddle, and where to interface
Patterns will continuously tell you the self-evident zones where meddle is required in a coat, just like the collar and facings, but after perusing different books and articles approximately fitting, and my claim involvement, there are indeed more areas that ought to be interfaces to induce a professional-looking result:
5. Contribute in tailoring tools
Just as critical as the fabric you select to create your coat are the devices you utilize to shape and shape the wrapped up article of clothing. In expansion to a fitting ham and great steam press, the foremost imperative devices I have for fitting are my fitting board and clapper. Not as it were do I utilize both frequently for sewing, but it’s the idealize surface for squeezing a collar crease or stash welt and makes pleasant, fresh edges to a coat front and sew.Employing a clapper is lovely fun, as well, and accommodating for permitting the steam from the press to set the crease or beating thick woolen crease open.
6. Consider the potential weight of your wrapped up coat
I learned a parcel from the primary coat I made many a long time prior, and one of the foremost obvious lessons for me (among numerous) was that everything you put into your coat—lining, interlining/underlining, meddle, and of course, the most fabric—really includes up! My cashmere coat, which was as it were mid-thigh length but somewhat curiously large, finished up being bulky and weighing a ton since of the heavy-duty coat lining I utilized in expansion to wool interlining for warmth and hair canvas for meddle. This
7. Attempt out your materials together
I like to purchase swatches of all of the materials I need to utilize some time recently I commit to a coating texture or meddle, and swatches are incredible for testing out how all of the materials will work together. By making a texture sandwich of all of the layers, you’ll decide what the ultimate wrap will be like for your coat. Is the result as well bulky? Will you’ve got sufficient back for your primary texture in case you don’t interface an region? Texture sandwiches like this are also extraordinary for testing distinctive sorts of
buttonholes or seeing in the event that fusible meddle will be distant better;a much better;a higher;a stronger;an improved” a distant better elective than pad-stitching a conventional hair canvas meddle.
8. Choose a lining that will final and keep you warm
One of the foremost irritating things almost RTW coats is the unstable linings that always wear out after many seasons and got to be supplanted. In case you’ve experienced this, you’ll take note they inevitably tear at high-stress areas just like the sleeves and center back crease because the lining texture is lean and cheap! The lesson from this can be that your coat lining should be not as it were solid sufficient to resist the scraped spot of dress and recurrence of wear but smooth and elusive sufficient to create it simple to
take the coat on and off. On best of that, your lining ought to be an additional obstruction to the cold.Sounds like a intense charge to fill!
9. Tailor tacks are your BFF
When working with fleece and other coating materials, it’s simple for conventional chalk marks utilized in piece of clothing sewing to rub off. Some of the time, chalk won’t indeed appear up in the event that you’re employing a finished texture. That’s where tailor tacks come in.I like utilizing shinning silk string to stamp stash situations, buttonholes, and shoot points.
10. The cherry on beat: Topstitching
The last step to a coat that will truly lift it to a proficient level is to topstitch around the collar, lapels, and down the center front edges. Indeed on the off chance that your design doesn’t call for it, deliver it a try—in expansion to being embellishing, topstitching permits the collar and coat facings to lay level. When you’re done, apply parts of steam to the topstitched regions and utilize a clapper to smooth the edges as much as conceivable.It’s a two-for-one bargain when it comes to topstitching!